Each engagement creates a usable line between the ideas under consideration and the decisions that need to move forward.
Services
A clear path through the decisions that shape a home.
Choose the level of design direction that meets the project where it is, then give the important decisions enough room to settle.
Service paths
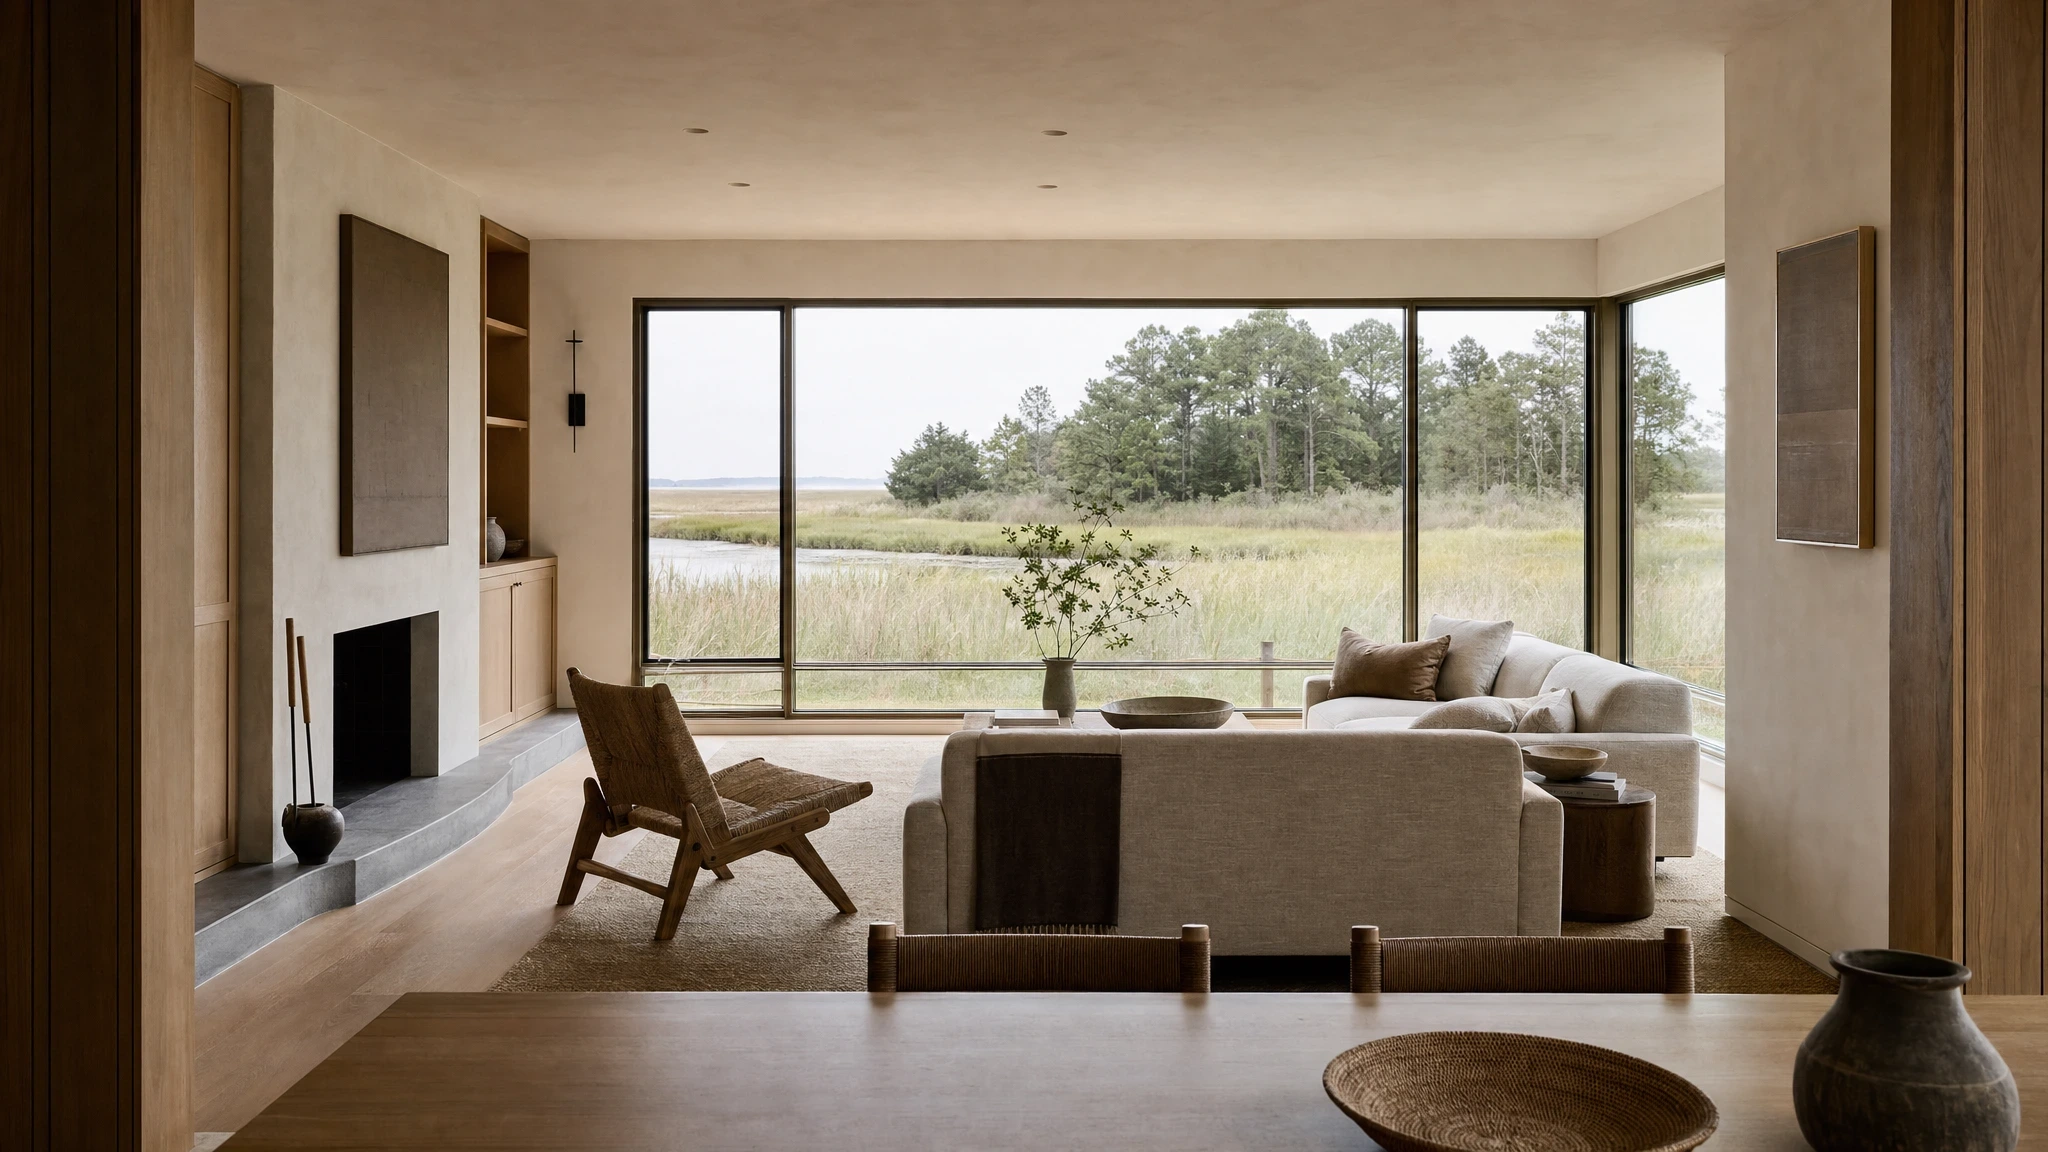
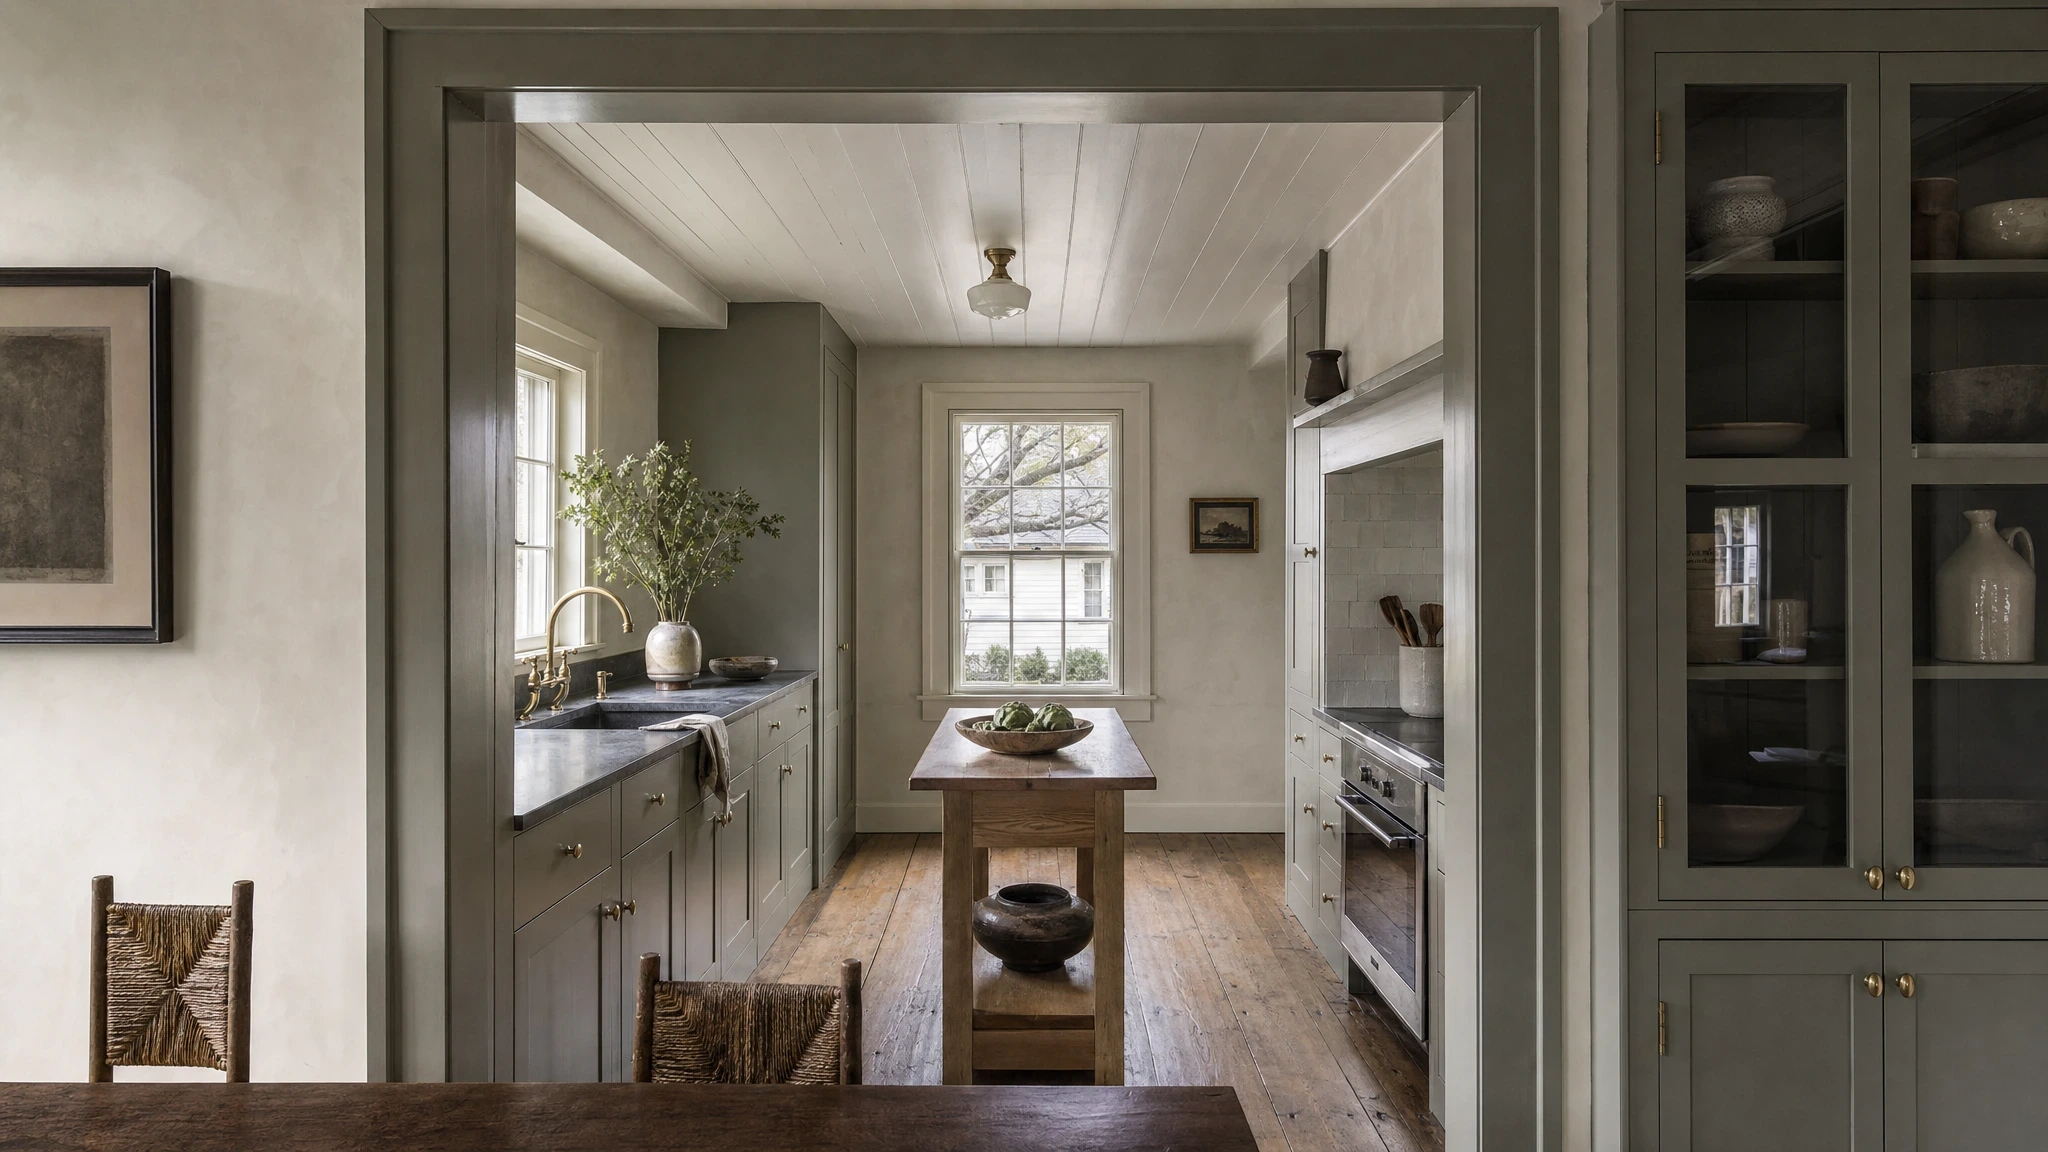
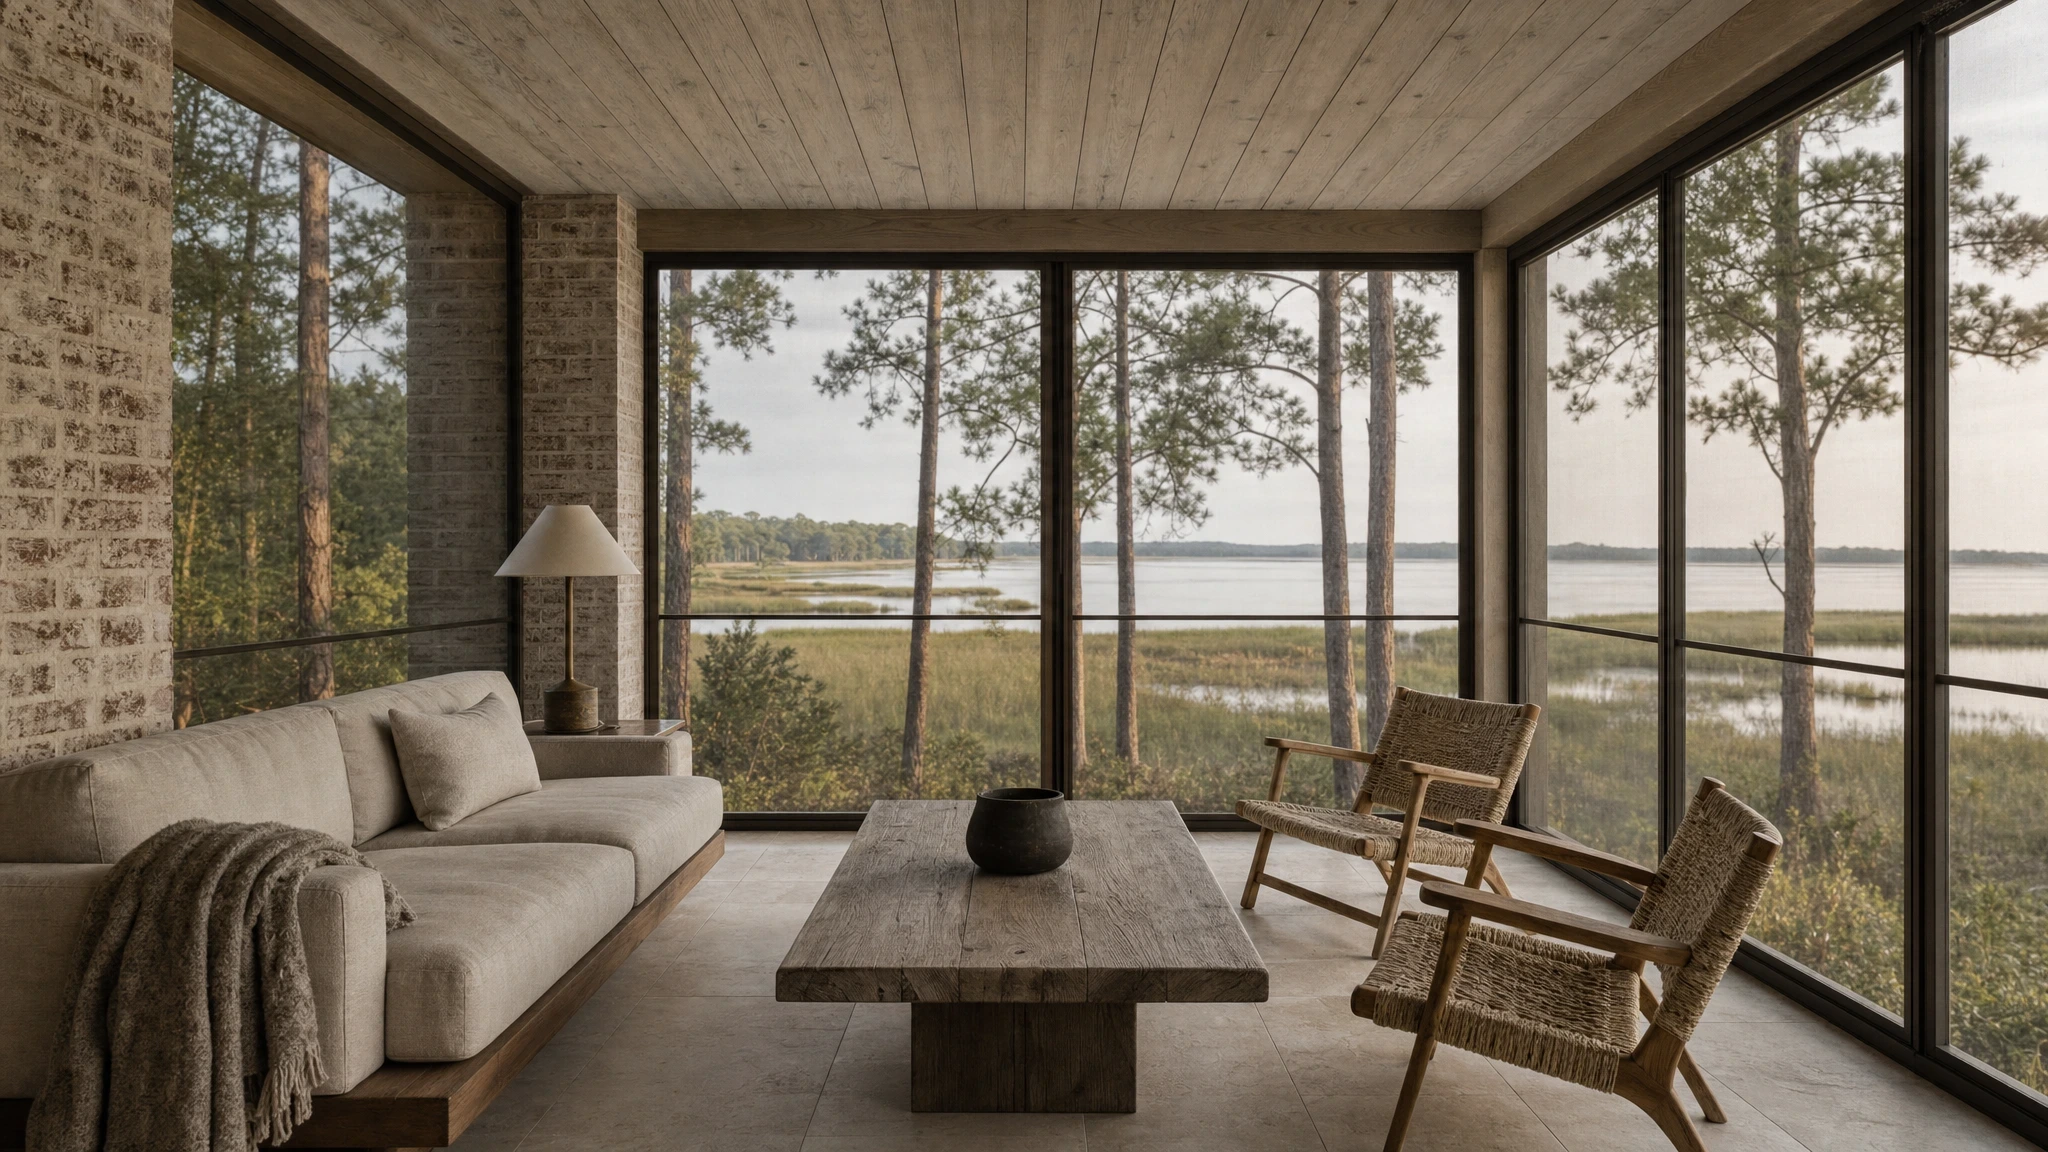
Three ways to begin
Scope
Compare the fit
A first way to locate the work. The actual scope follows the rooms, constraints, and decisions in front of the project.
| Decision | Furnishing | Renovation guidance | Whole-home direction |
|---|---|---|---|
| Room planning and furniture direction | Focused rooms | As needed | Across the home |
| Material and finish direction | Key decisions | Detailed | Connected palette |
| Selections and documentation | Priority pieces | Renovation notes | Whole-home record |
| Final placement and edit | Included | When relevant | Included |
Process
How the work moves
The sequence is deliberately simple: clarify what matters, edit the options, document the decisions, and let the rooms become real.
- Step 1
Clarify
Rooms, constraints, and priorities
Name what must change, what can stay, and which decisions carry the greatest weight.
A measured brief gives a project somewhere solid to begin. It identifies the rooms, patterns of use, constraints, and decisions that deserve attention first.
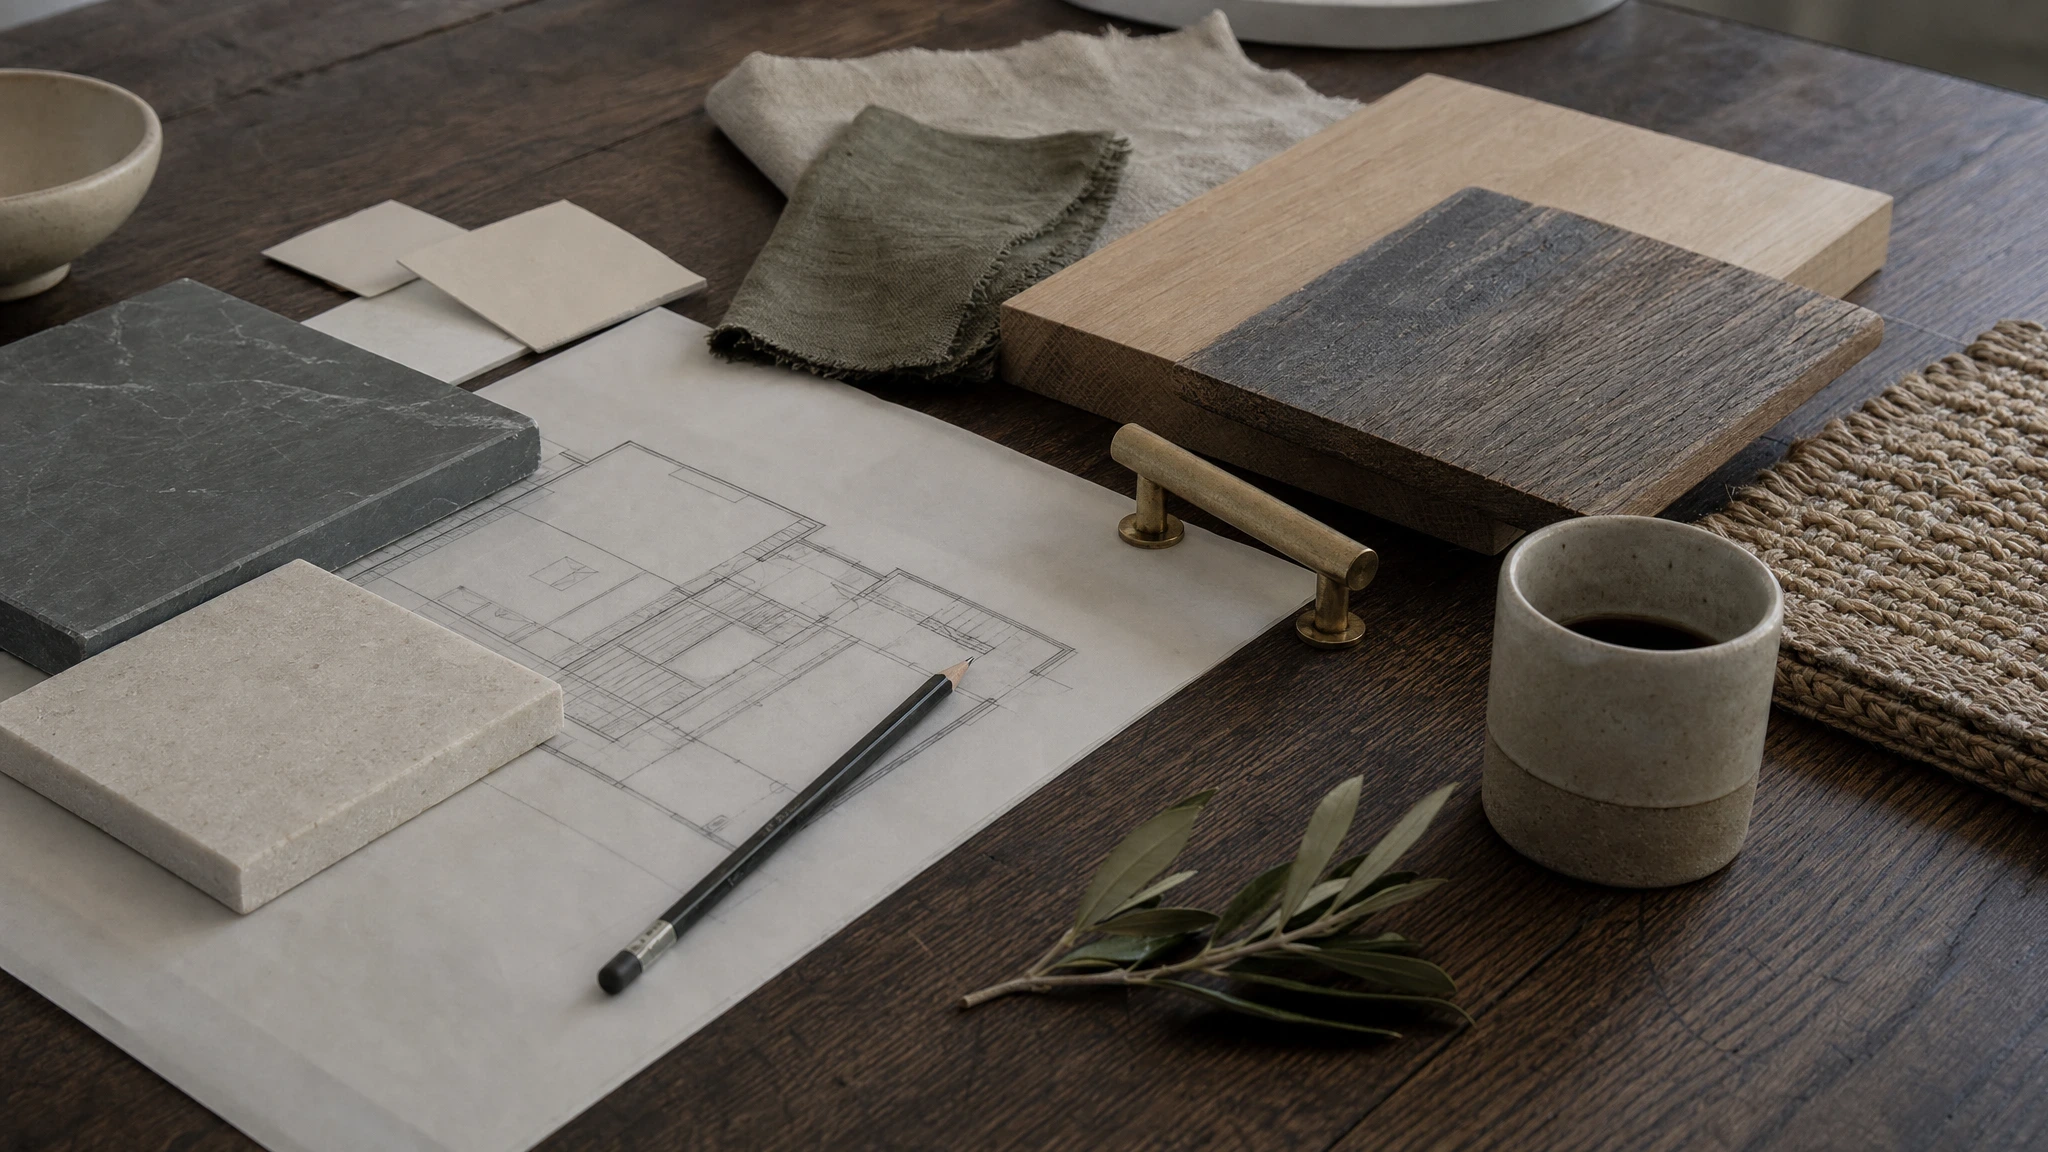
A brief that makes the next decision clearer. - Step 2
Edit
Materials, furnishings, and light
Reduce the options until the room has a legible material and furnishing direction.
Stone, textile, wood, lighting, and furniture are considered as one conversation so the room feels coherent without becoming overworked.
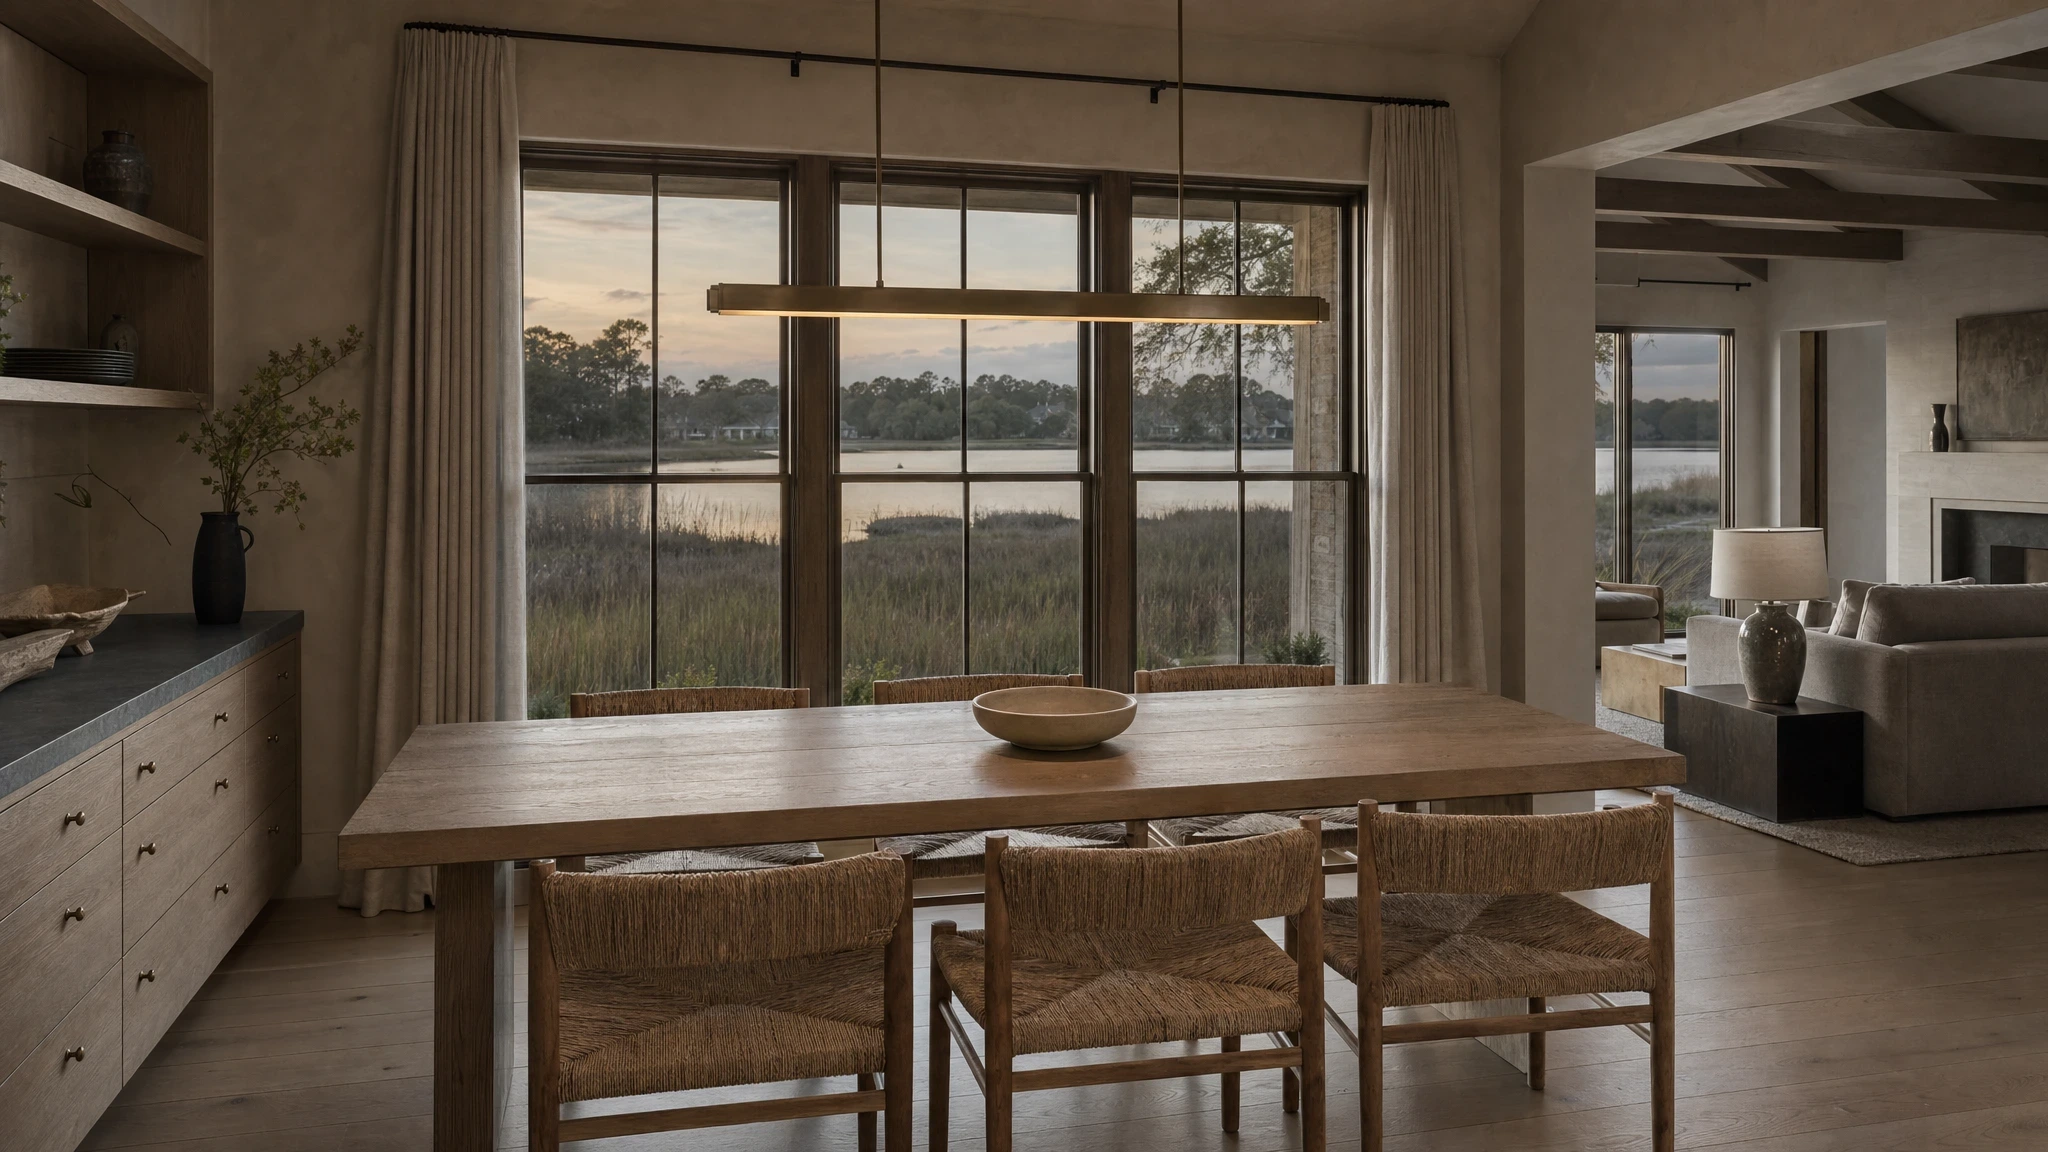
The palette narrows before the details multiply. - Step 3
Document
Selections and useful notes
Turn the chosen direction into a record that can hold through pricing, ordering, and site questions.
The work becomes a usable set of decisions: key pieces, finish notes, priorities, and the few questions that still require a choice.
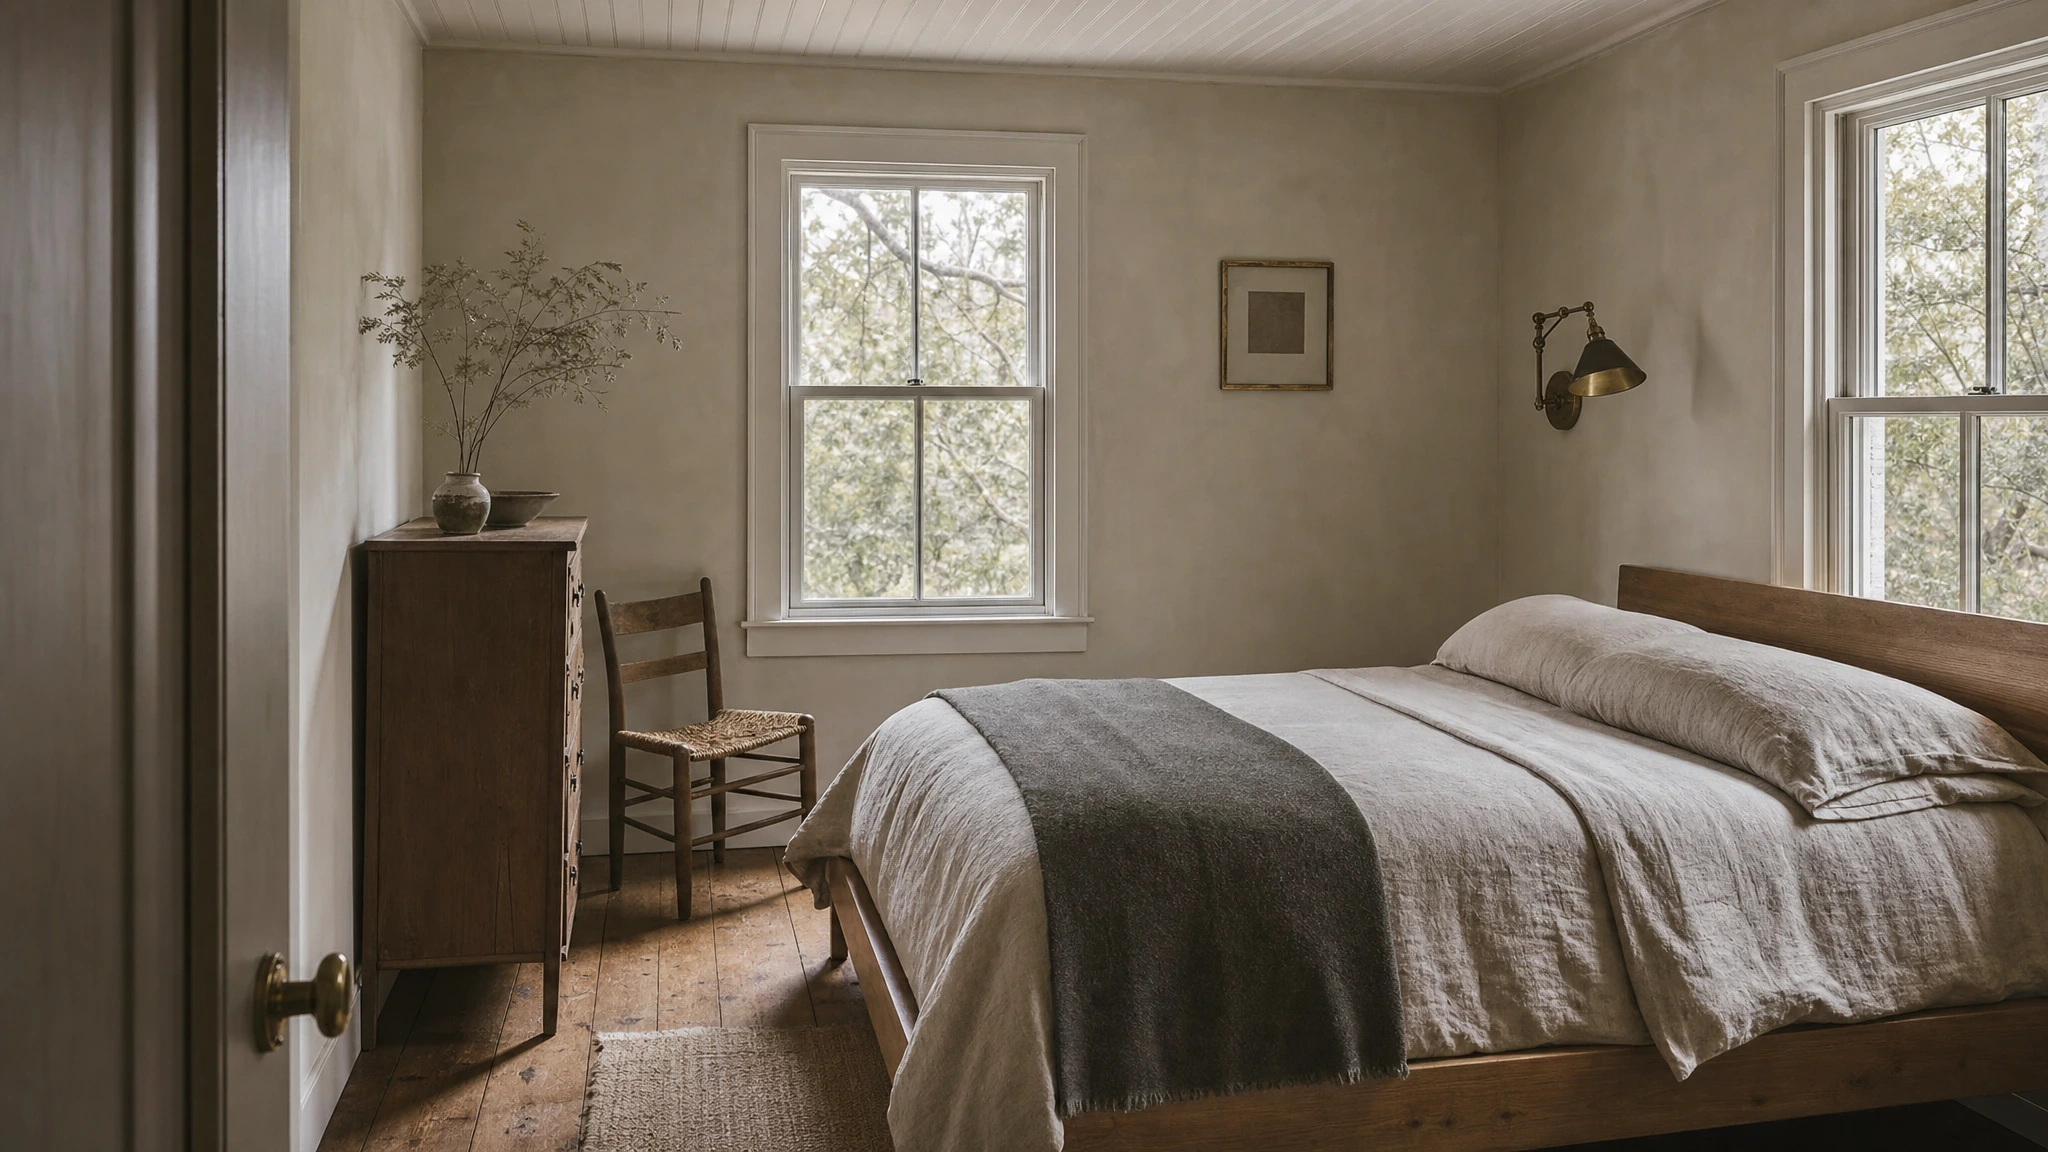
Documentation protects the quieter decisions. - Step 4
Install
Placement and final edit
Resolve placement, light, and the final objects in the rooms where they will actually be used.
The last pass checks proportion, circulation, and where the eye can rest. It is less about adding and more about knowing what to leave alone.
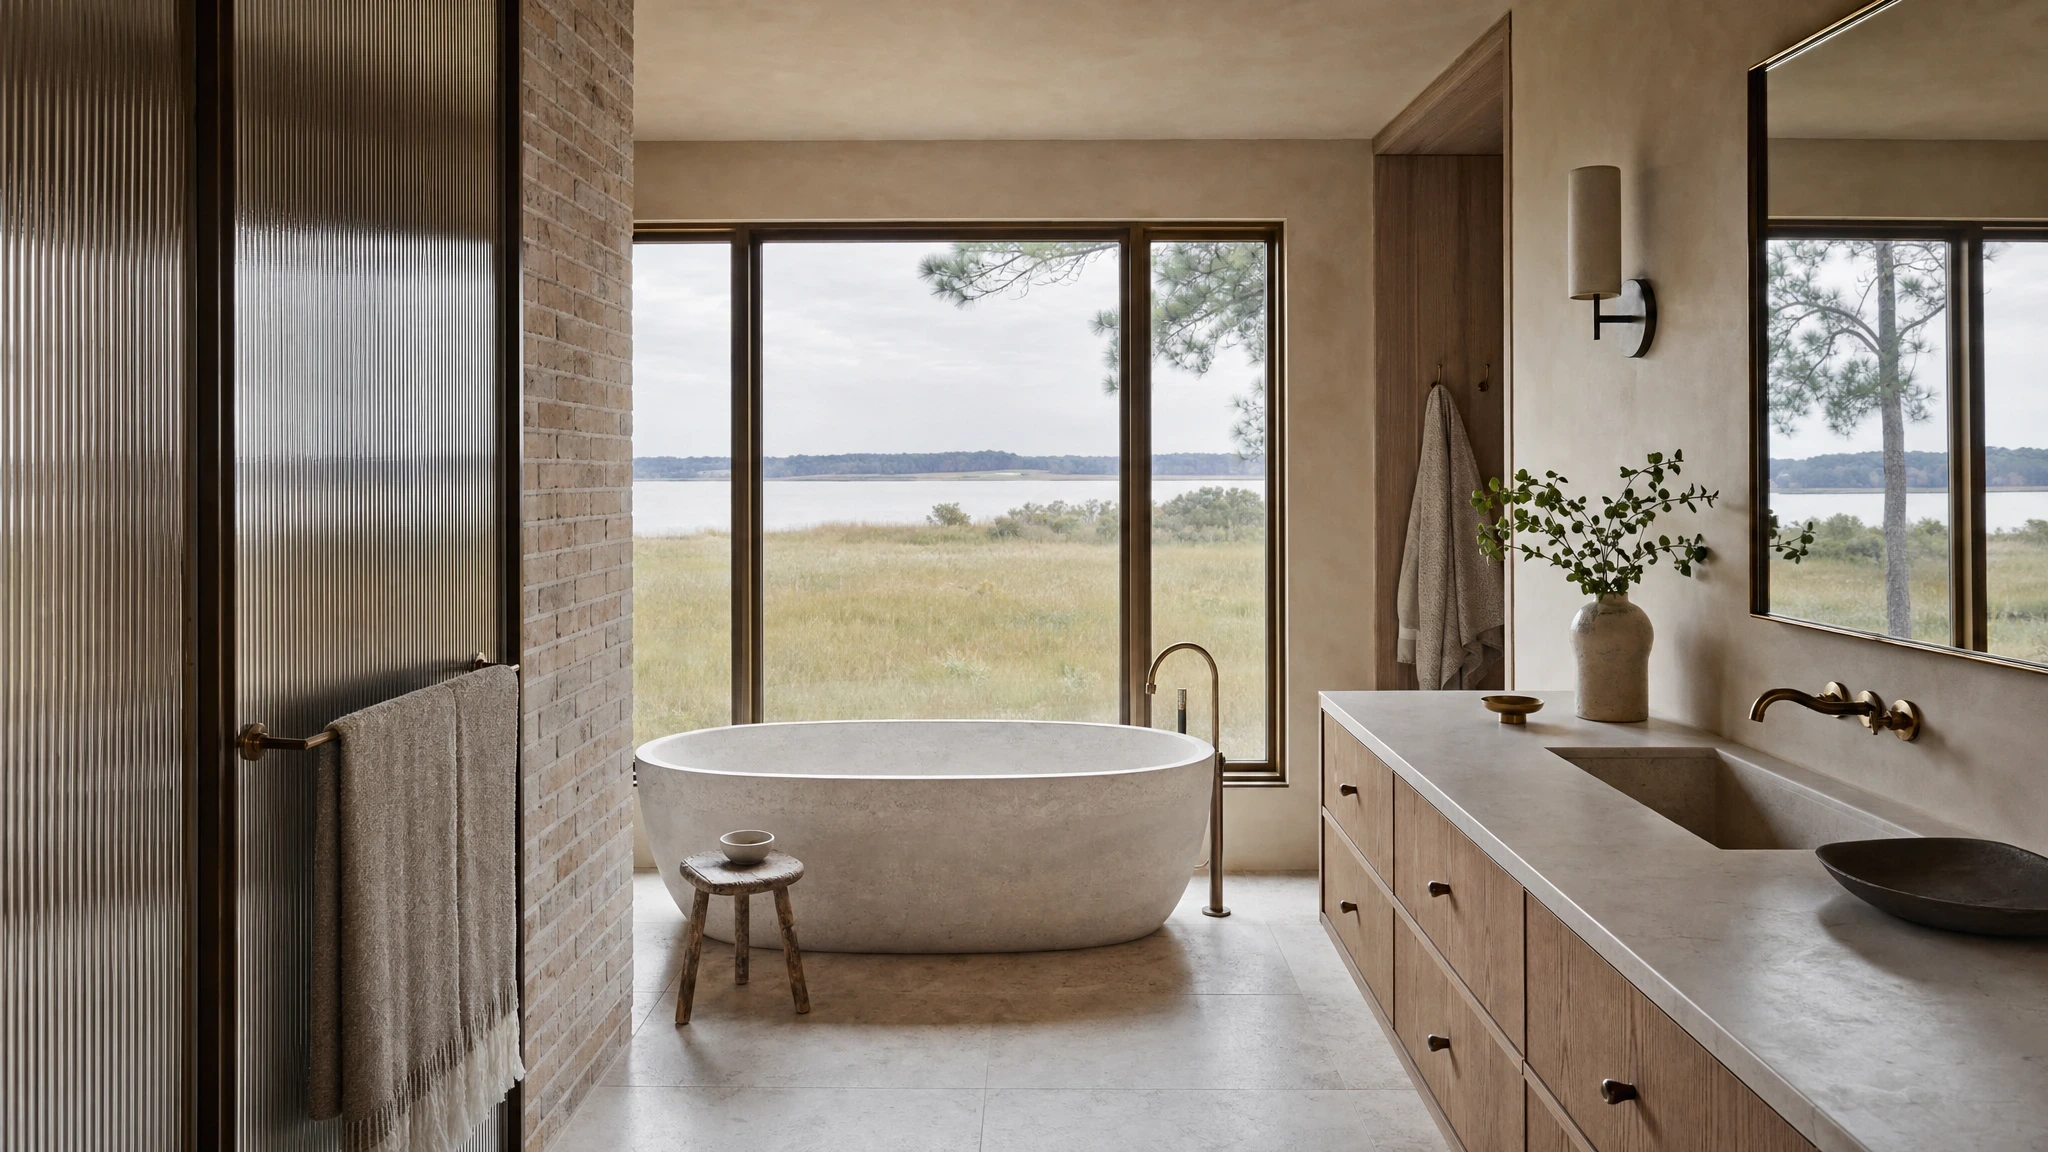
A final edit for daily use, not a staged moment.
A few useful questions
The studio is set up for furnishing, renovation guidance, and whole-home interior direction when rooms and material choices need to work together. An inquiry can start with one room if that room makes the larger question visible.
Yes. The design direction can sit beside an existing project team, with the work organized around the decisions that need interior context before they are priced or built.
Procurement priorities and selection notes are shaped by the engagement. The useful first question is which pieces, finishes, or decisions need to be protected before ordering begins.
Some design direction can be shared through drawings, selections, and detailed notes. The inquiry is a good place to describe the project location and which moments need to happen in the room.
A few photographs or plans, the rooms under consideration, the broad project timing, and the decisions that currently feel most difficult are enough to begin.
Send the rooms and the constraints.
A concise note about the home, the work ahead, and the decisions already in motion is a useful place to start.